Intro to apps
Custom Visibility for Apps
Messages App
Payments App
Services
Invoicing
Subscriptions
Payment Links
Store
Client Billing Experience
Fees & Payment Reconciliation
Files App
Contracts App
Forms App
Helpdesk App
Tasks App
Client Home App
Profile Manager App
Airtable Embed
Calendly Embed
Notion Embed
Google Sheets Embed
ClickUp Embed
Typeform Embed
Youtube Embed
Autoresponder App
Exporter App
QuickBooks Integration
Xero Integration
Other Embeds
Jotform Embed
Power BI Embed
Hubspot Forms Embed
Hubspot Meetings Embed
Miro Embed
Figma Embed
Monday Embed
Canva Embed
Acuity Scheduling Embed
Loom Embed
Google Drive Embed
Google Slides Embed
Google Docs Embed
Google Forms Embed
Looker Studio Embed
Google Calendar Embed
Databox Embed
Trello Embed
Zoom Scheduling Embed
Squarespace Embed
OneDrive Embed
Custom fields
Create and track custom properties
Overview 
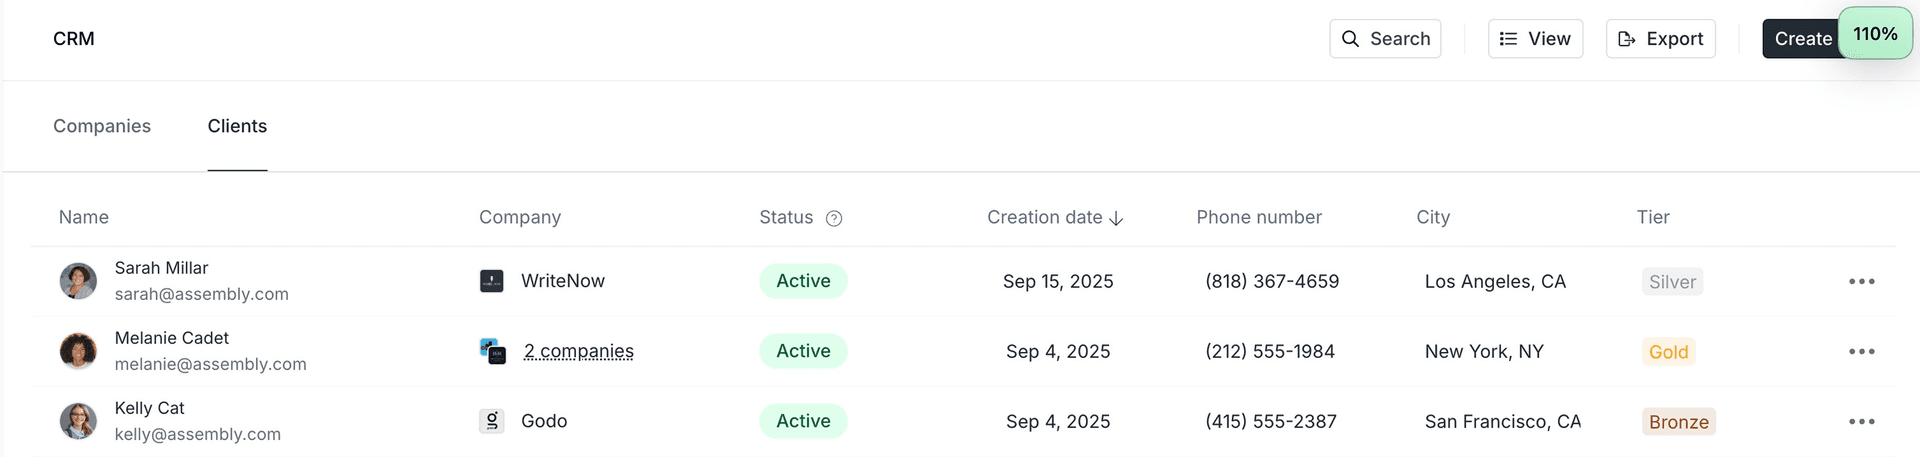
Custom fields let you track additional properties for clients and companies. Once created, a custom field is available across all clients and companies. You can view custom fields on the Clients page, Client Details page, Companies page, and Company Details page.
Types of custom fields
Type | Usage |
|---|---|
Phone number | A field for entering and storing valid phone numbers in a standardized format. The format needed for a successful update is +{countryCode}{areaCode}{number}. Examples: US — +12123456789, UK — +442071234567. Note: The countryCode and areaCode must be valid for the update to succeed. |
A field designed for capturing and validating email addresses. | |
URL | A field for web links that are automatically verified for format. |
Text | A generic field for entering alphanumeric characters, commonly used for names or short descriptions. |
Number | A numerical input field that supports integers and decimals, ideal for quantities or monetary values. |
Address | A field for physical addresses, often segmented into components like street, city, and zip. |
Tags | A field that enables categorization through single or multiple keyword entries that can be filtered or sorted. |
Create a Custom Field for a Client
On the Clients page, click on any client.
In the Client Details page, go to the Details tab and click the + next to Custom Fields.
Choose the type of custom field you want to create. Keep the default name or enter a new one. The field will now be available for all clients.
Create a Custom Field for a Company
On the Companies page, click on any company.
In the Company Details page, go to the Details tab and click the + next to Custom Fields.
Choose the type of custom field you want to create. Keep the default name or enter a new one. The field will now be available for all companies.
Update custom field values
After you create a custom field, it becomes available for all clients and companies. However, the value of that field can be different for each one. For example, if you create a Phone Number custom field, each client or company can have their own phone number.
You can update custom field values in two ways:
From the Client or Company Details page: Click on a client or company from the Clients or Companies page, then update the custom field values in the right sidebar.
From the Clients or Companies page: Edit custom field values directly from the main list. This option is convenient when you need to update fields for many clients or companies at once.
Address Custom Fields
When adding an address custom field for a client or company, you will be prompted to select a country. Once a country has been selected, you can enter the remainder of the address.
Custom fields for addresses support autocomplete for US, UK, Canada, and Australia. Simply start typing the street address in the Address line 1 input and you will be shown options to autocomplete the address. This ensures addresses are valid in the countries listed.
If entering an address for a country not listed above, autocomplete is not available. However, you can still enter the address manually.
Frequently asked questions
How can I update fields for multiple clients at once?
To update multiple clients at once, you can use our Client Import feature.
Step 1: Export your clients
In order to update your clients, you'll need a .csv that exactly matches your current clients. Export your list of clients to a .csv by clicking Export in the top-right corner of the Clients page. This will download a file with all of your current client data and custom fields.
If you only want to update some clients, from a specific company or with the same email domain for example, you can use the Search button at the top to filter your clients, and after doing so the Export button will export only the clients you have searched for.
Step 2: Edit your client fields
Once you've exported the clients you wish to update, open the exported file in Google Sheets, Numbers, Excel, or other spreadsheet editor of your choice. Then, make changes and/or add values to fields you want to update.
Note: We use emails as the identifiers for clients, so you will not be able to make changes to the client email. If you change this field, a new client will be created for the new email address. Any changes to email addresses must be made by the client themselves.
Once you've made the changes to your client fields, export or download the updated document in .csv format.
Step 3: Import your changes
To add the updates to Assembly, go to the Clients page and click the +New Client button in the top-right and select Import many clients. Upload your file in the Import step.
In the Match step, all of the fields should be matched, except for Status and Creation date. Click Ignore column for both of these fields, and then click Next in the top right.
In the Preview step, you should not see any new clients (unless you have added new clients to the spreadsheet). Click on the Updated clients tab to preview the updates.
If everything looks correct, click Import only in the top-right.
You will be taken back to your Clients page and a message should appear at the bottom that your changes were imported successfully. Refresh the page to see the updated fields.